
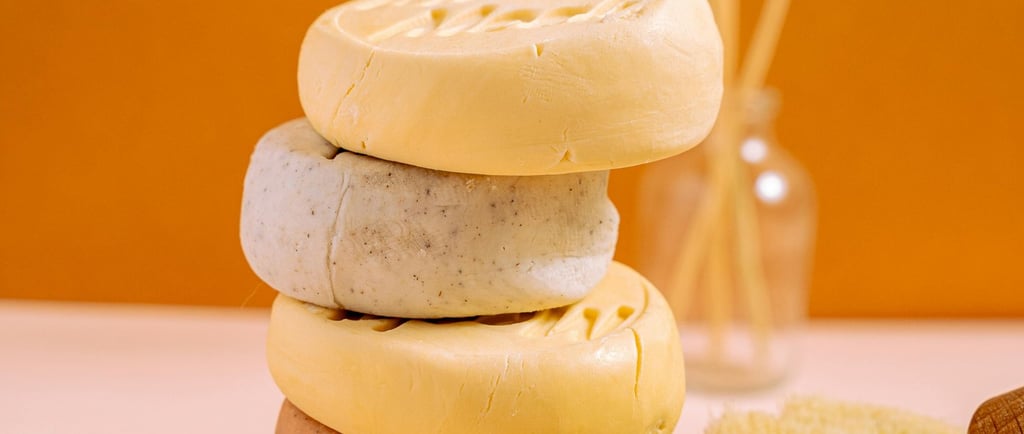
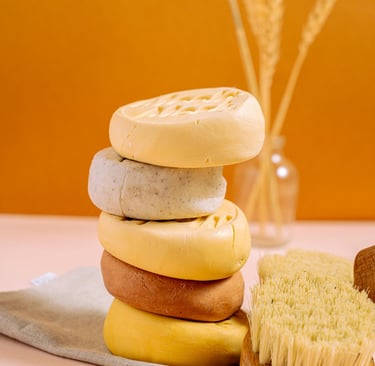
How To Make Shea Butter Lotion Bars At Home
Hello, my dear readers, I decided to add this recipe in my blog coz it has been rewarding for me. So, I thought it is a good idea to share the information!😜. Here is how to make shea butter lotion bars at home that you'll luv and appreciate! Let's start!
DIY SKINCARE
With growing popularity of natural skincare trend, many people have discovered various ways to make skincare products that are natural, effective, cruelty-free and with no harmful chemicals and preservatives. Without telling, I know you have lotion bottles somewhere in your home. Liquid lotions come with many chemicals in form of parabens, sulfates, petro-chemicals and silicones. If you have delicate or sensitive skin, this can be concerning. But what if I tell you that you don't have to use them to moisturize your skin. Good news is that you can make simple body moisturizers at home. One of the favorite DIY skincare treat is lotion bars.
You can use few ingredients at home to make a sweet-smelling, soothing and calming lotion bars that you could use, you and your family. In this post, I will share my shea butter lotion bar recipe. It is easy and fun to make since there are no complicated steps to making this recipe, I promise!
SELECTING INGREDIENTS
Soy wax: It is a type of vegetable wax that is made from soybean oil. This type of wax is good for candle making, soap making and even other DIY skincare products. If you like natural and vegan recipes then this is a very good option for you since this recipe contains no animal products at all.
Cocoa butter: It has pale yellow color. It also has a chocolate aroma that you will like in your lotion bars. It is very moisturizing to the skin. Cocoa butter can even out the skin tone and reduce the appearance of stretch marks. I think it's good idea to have this in our formulation.

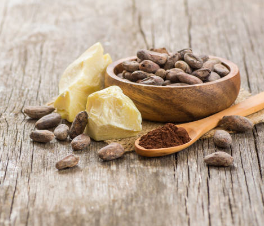
Shea butter: It is pale yellow, soft, creamy butter. It has a sweet-scented nutty aroma. Its melting point is 28 Celcius (82 Fahrenheit). It can protect and soothe skin. In this recipe it'll be a good option.
Coconut oil: Get a cold pressed unrefined oil with coconut aroma. It is very affordable and it can be easily found in local store. Coconut oil can protect the skin and soothe irritated skin. It is good for all skin types. If you have nut allergy then you can replace coconut oil with grapeseed oil.


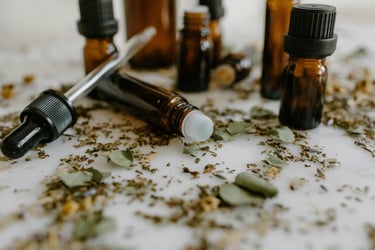
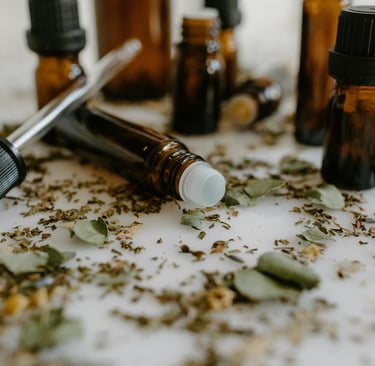
Essential oils: It is optional to use them in this recipe. Though I'll be adding them to m lotion bars. This essential oil blend can be soothing, calming for skin and nerves. The Roman chamomile, neroli, lavender and ylang ylang blend. You can use another blend too of your choice but it should not exceed 120 drops, combined.
Ingredients
5 tablespoons of soy wax
3 tablespoons of cocoa butter
3 tablespoons of shea butter
5 tablespoons of coconut oil
20 drops of Roman chamomile essential oil(optional)
15 drops of neroli essential oil(optional)
30 drops of lavender essential oil(optional)
10 drops of ylang ylang essential oil(optional)
Using essential oils is optional since not everyone will prefer the scented lotion bars depending on ones taste or sensitivity of their skin. Simply you may not have all this essential oils and you want to make lotion bars, just go ahead without them, it's fine!
You may need silicone molds for this lotion bars recipe. You can easily get one at your local store or order them online. If you don't have molds simply just get a shallow round metal or glass as a mold.
QUICK TIP: Spray oil on your molds before pouring the hot mixture to avoid getting sticky when popping them out.
Instructions
Collect your ingredients and equipments such as saucepan, spoons, mixing bowl, molds etc. Without further ado let's get started!
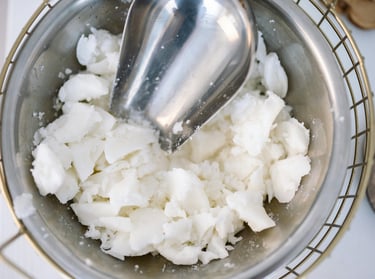
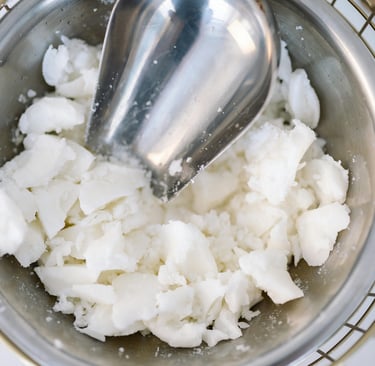
First, start by adding soy wax and cocoa butter to a borosilicate glass or metal container and place it in simmering water bath until the ingredients are melted. If you have a double boiler, it'll be a better choice than the saucepan I'm using right now.
Next, add shea butter and coconut oil and let these ingredients melt completely in the container.
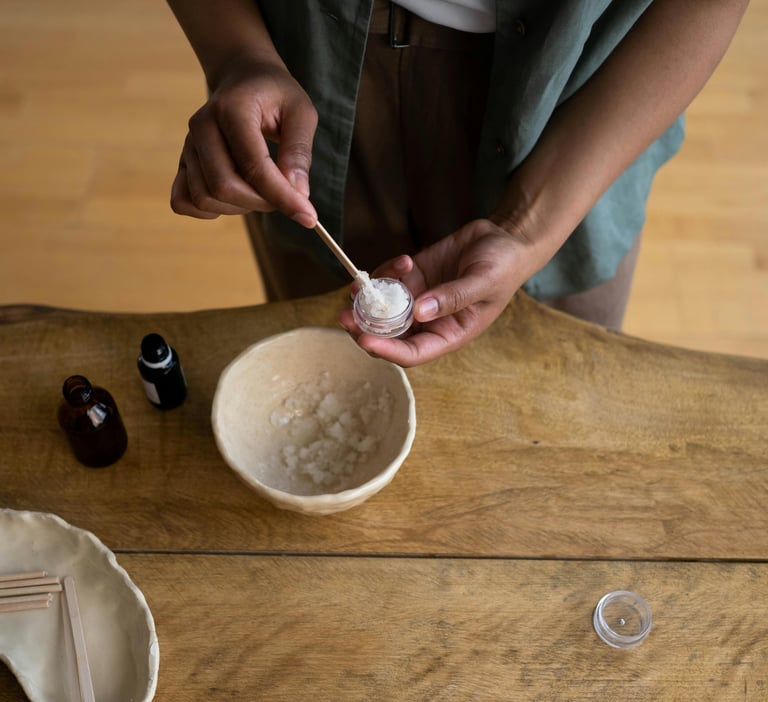
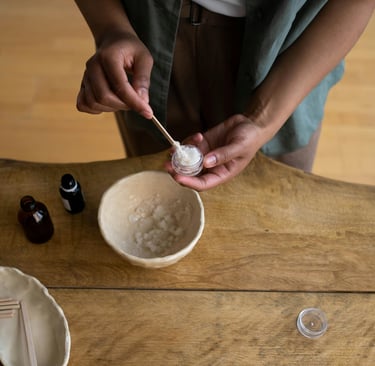
Once completely melted, remove from the heat and then add your essential oils while stirring. This step is optional, you can just skip it if you don't have essential oils.
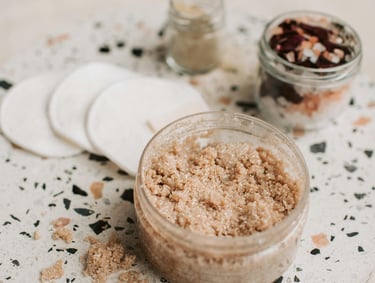
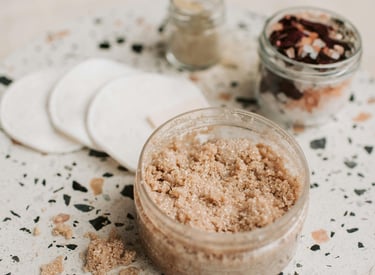
Carefully pour your hot mixture to your silicone molds or any other designated container of your choice and leave it to cool to room temperature. Let your lotion bars harden completely.
QUICK TIP: Once cooled you can put your lotion bars in a refrigerator for them to harden solid and make it easier for them to pop out of the molds without damaging them especially if your mold has delicate or intricate design that requires care when removing them from the molds.
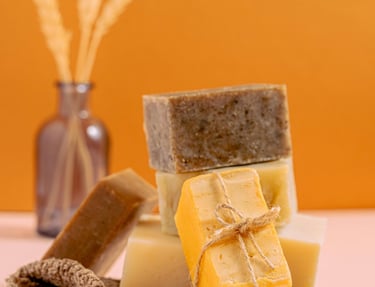
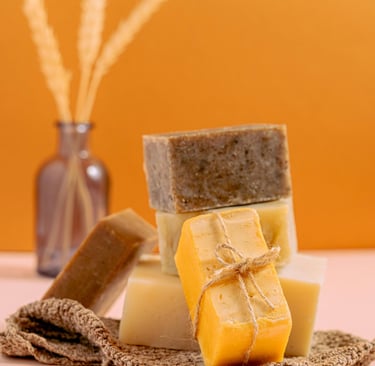
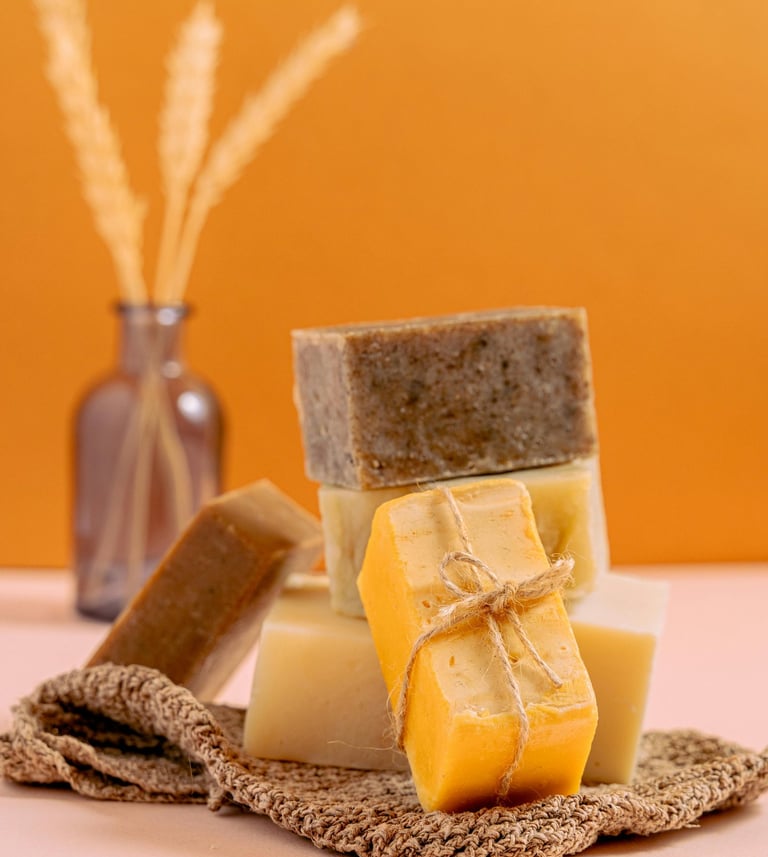
Pop out your lotion bars and store them in a cool dry place.
HOW TO USE YOUR LOTION BARS
You can use your lotion bars in place of normal liquid lotions from the store. They are very eco-friendly and cost-effective on the long run. They can be very nourishing and moisturizing for dry and sensitive skin.
CAUTION
Store in a cool and dry place.
Keep away from direct sunlight.
The shelf life for lotion bars is 24 months if well stored.
I hope you like this recipe and you gonna use it to improve and maintain your skin. Feel free to read other DIY skincare recipes and come back fore more when you need another one follow us on Pinterest for more recipes and skincare insights. See you soon!
About me
Hello, my dear gorgeous! Welcome to my blog and learn with me as you walk in your skincare journey. I'm skincare enthusiast and a student. I like sharing my passion of beauty and skincare with the world. I like blogging, reading and binge watching YouTube vlogs and Netflix during my leisure time.

