
How to Make Beautiful Wax Melts
Discover the art of creating beautiful wax melts from leftover wax. Learn how to make wax melts using your imagination and creativity. Perfect for candle lovers and DIY enthusiasts!
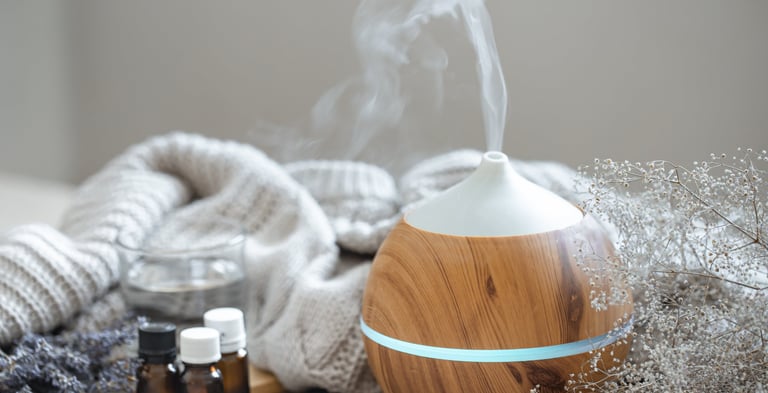
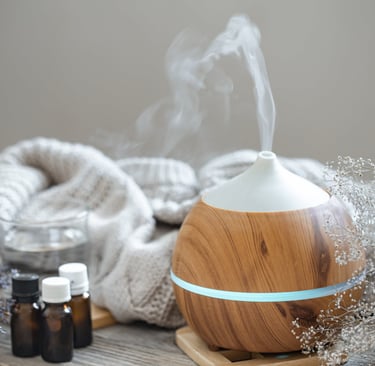
If you like making waxy stuff, then you can make these wax melts. When you want to enjoy scented air, scented candles is not the only thing you can turn to. If you want to have spa at home experience then consider using wax melts for these reasons
Why Use Wax Melts Instead of Scented Candles?
Avoid soot: Scented candles may produce more soot because they burn the wick. It can also leave the sooty residue on the glass holders or glass candles.
More fragrant: Wax melts can make use of up to ten percent of its composition than scented candles which contain less fragrance or essential oils. Furthermore, wax melts can hold more scent than scented candles.
Easy to male: They are relatively easy to craft than soaps, scented candles or other wellness DIY products. With few ingredients and less time and voila! you'll have created wax melts to enjoy as part of meditation or spa experience!
DIY Wax Melts
Just with few ingredients like waxes, natural dyes, essential oils or fragrance oils you can make it in intricate designs using silicone molds of various shapes and sizes. Now let's jump in to make this recipe.
Selecting Ingredients
Soy wax: It is derived from soy beans as part of soy by-product. Soy wax is quite easy to find, affordable and easy to work with. It can be purchased in form of blocks or flakes. If you get a block cut it in small cubes that can be melted easily. Use an alternative if you're less concerned about petro-chemicals then you can substitute soy wax for paraffin wax.
Dye candles: Just get to use liquid dyes that are used in candles then use them in making wax melts. Make sure the dye is well mixed to make well-colored wax melts. If you prefer using natural dyes is more better. Don't use powder in this recipe since its hard to work with.
Fragrance oil and essential oil: You can use essential oil or essential oil blends that can make your wax melts more fragrant. If you care less about artificial fragrances then find favorite fragrance oils that can suit your taste. You can make the fragrances more stronger or more subtle by adjusting the percentage up to 10 percent of your wax melt composition.
Rubbing alcohol: This Isopropyl alcohol is sprayed on the silicone mold that can avoid breaking or chipping your wax melts. It is going to remove the wax melts more easily in their cavities.
Ingredients
1 block of soy wax (250 grams)
5 to 10 drops of candle dye
15 to 25 drops of fragrance oils or essential oils
rubbing alcohol
Apart from getting these ingredients, you have to get silicone mold with the design you prefer, weighing scale, kitchen thermometer, mixing bowl, saucepan, heatproof beaker or double boiler, spatula or wooden spoon.
Instructions
Prepare your utensils on a clean and tidy space with ventilated air. Measure out your soy wax flakes or dice your block into small chunks that can be easily melted.
Transfer the soy wax small chunks or flakes to a heatproof beaker. Place the beaker in a saucepan with few inches of water to create a water bath. Use a double boiler instead.
Set on the stove top on low heat. Put your saucepan on stove top and wait till the wax is completely melted. When the temperature of 170 to 185 Fahrenheit, checking with the kitchen thermometer.
Meanwhile prepare your silicone mold by spraying rubbing alcohol on the cavities of the silicone mold and set it aside.
Add your dye candle in the melted wax and stir till the color is uniformly distributed.
When the temperature is around 183 to 185 Fahrenheit add your favorite essential oil or fragrance oil. You can add up to ten percent of the fragrance oil. If you prefer less stronger scent then you can reduce the percentage to suit your scent preference. Mix till the fragrance oil is completely combined in the melted wax.
Cool your melted wax to 170 Fahrenheit, check the temperature with your thermometer. Pour your melted wax slowly into the silicone mold to avoid air bubbles to be trapped in the wax melts.
Allow your wax melts to cool for 12 hours and gently remove them from their silicone mold. Be careful to not chip your wax melts while removing them.
Cure the wax melts for about 10 to 14 days for the fragrance to get stronger in the wax melts.
Your wax melts are ready for use. Set your light bulb wax warmer, place them on the tray and let the wax melt as you enjoy the scent!
QUICK TIP: To make your wax melts melt more slower then consider freezing your wax melts in a freezer to make their molecules be tightly packed and compact.
About me
Hello, my dear gorgeous! Welcome to my blog and learn with me as you walk in your skincare journey. I'm skincare enthusiast and a student. I like sharing my passion of beauty and skincare with the world. I like blogging, reading and binge watching YouTube vlogs and Netflix during my leisure time.

